Sunday, May 22, 2011

paper plate weaving

My sixth graders did two types of weavings. 
I first saw this weaving technique on themanualescanigo.blogspot.com/. I love, love, love this blog.
One class tried the paper plate weaving. They turned out pretty well. We had a bit of trouble trying to regulate the distance of the cuts for stringing the weft in the paper plates. The theory is that the number of strings in the plate should be uneven so that when you go around you naturally end up weaving in an over and under pattern with no issue. If your weft strings are an even number, you will have to remember to alternate or skip going over  (or under) a weft every time you complete a circle or the weaving will not alternate "over and under" and it will start to bunch up. This can be confusing for the students.

The students were instructed to draw a pattern with colored markers to coordinate and to try to cut out a little pattern from the edges to make the design more interesting.
Here are the some of the paper plate weavings.


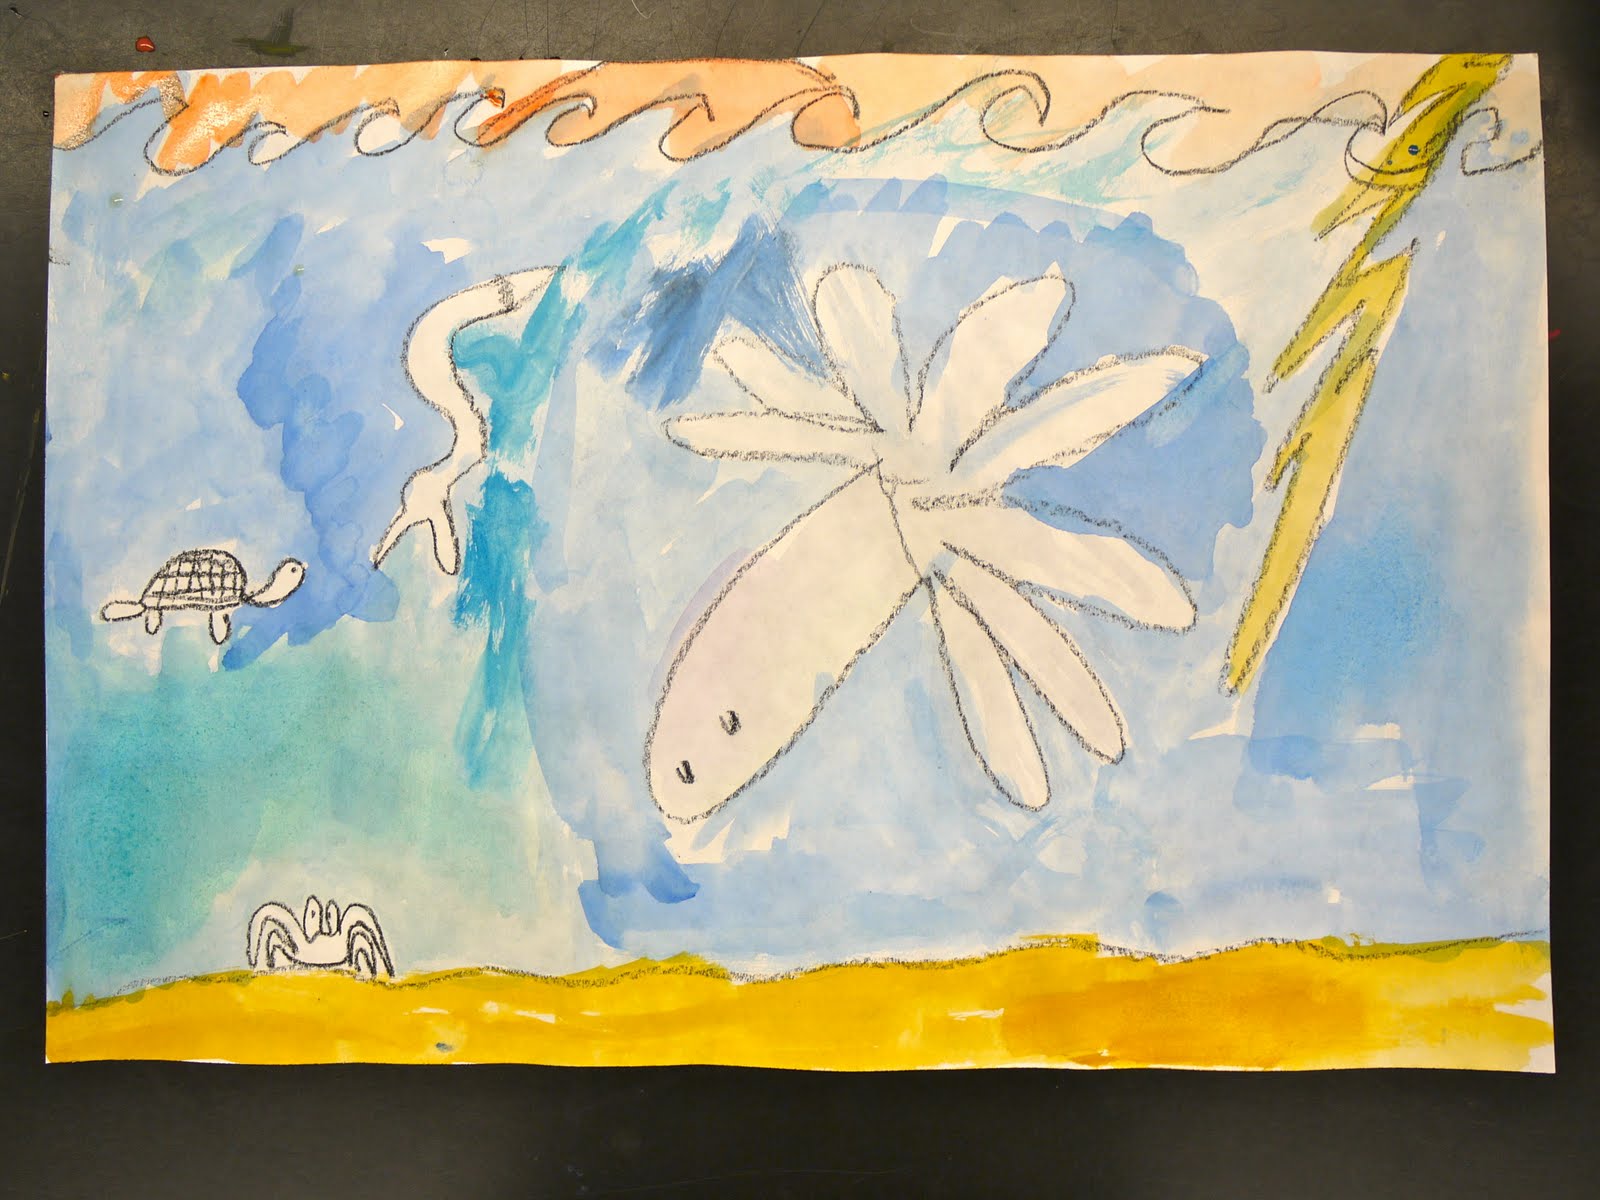
Under the Sea

My third graders had a great time with this project. We finished the entire piece in forty five minutes and even had time to create a graph on the board to tally which undersea creatures were drawn on the most papers.

We started out by imagining we were snorkeling in a great barrier reef. The students raised their hands and told me what they imagined they might see under the water.  I drew what they told me on my paper on the board, then let them go to town drawing their own undersea world, including any imaginary beings, like mermaids and underwater castles. They drew in black crayon on 12 x 18 paper.


Meanwhile I put out watercolor palettes, water cups and paintbrushes. Here are some of their finished pieces.  Magnificent!
Covering the paper with color completely changes the look.


A giant squid and underwater lightning!


I love the drips.


Thus student spent alot of time on his Titanic ship. I had to speed him along.

Friday, May 13, 2011

Transformer Robots

This charmer was made from an old iron waffle maker.
My 8th grade class last semester was made up almost entirely of boys. I decided to do alot of sculpture projects with them to keep them motivated and engaged. One of their favorites was this Transformers Robot project.  I went to the local good will and bought a bunch of old appliances. I set them out and let the students go through them and choose the item that caught their attention. The students worked in pairs of two and came up with some very charming robots. We used duct tape and gorilla glue to hold them together, some pieces might have used hot glue but it usually does not stick to plastic or metal. They were also using bottle caps, tin cans and other recycled objects including paint to finish off their pieces. Here are a few examples.

The students loved taking the appliances apart and figuring out how to put them together in new ways.

We even used an old plastic roller wheel suitcase and cd players


Tuesday, May 10, 2011

Modeling clay

I love using modeling clay. When I was little we used to make our own clay at home with flour and water and oil and would play with it for hours. Many young students have little experience with art, let alone clay. I try not to worry too much about "product" with my young artists and let them simply enjoy the art process. Modeling clay (or any other kind of clay) is perfect for this experience.
I also like to use clay as a substitute teacher activity for my elementary classes (or for very well behaved middle schoolers).  I choose a book to be read aloud and pull a theme that can be used to model - perhaps a book about baking and they can make pretend cakes, or a book about spring and they can make bugs or flowers, etc.

Another great use for modeling clay is to allow young Kinders to work with letters in a tactile manner. I will have them roll out the clay and have them spell out their names. They  LOVE this activity!

When the time is over the clay gets rolled into a ball and placed back into my bucket.