Step 1.
I have the students design their sculpture first by drawing an oval shape. Then they design a whimsical animal. They can be creative and go with another subject matter if they desire. However, the design must be well developed and colored in as part of the fun is seeing how close to the image the finished sculpture looks.
Step 2. We blow up 9 " balloons, not too full, and then cover them with torn newspaper covered in papier mache mixture. I like the store bought brand that must be mixed with COLD water. The students giggle because of the slimy consistency. They must apply numerous layers - at least 4 to 5, if they get confused you can alternate layers of newspaper and white paper to help keep track. (I also use a white paint palette with a piece of tape to write their name on to store the balloon on.)
Step 3. Teach the students how to add on features such as ears, legs etc with cut out boxes, egg cartons, and tape. Make sure all appendages are really secure.
Step 4. After all the features are secured add an additional of papier mache over the sculpture. this last layer should be white paper.
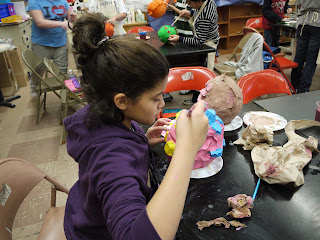
Step 5. Paint with tempera paint. Make sure the entire piece is covered. Another important aspect is that the artwork stands. This is part of my rubric.
 |
| Getting paint for the final step |
 |
| This piece was supposed to stand on wire legs, but we had difficulty making it balance with the oversized head. |
 |
| This is an 8th grade paper mache project |


No comments:
Post a Comment